Ever find yourself overwhelmed by the sheer volume of content that needs to be produced? Thanks to AI, I’ve cut down my video production time by hours, and I’m here to show you how you can do the same! If you're ready to save time and pump out more content, let's dive in.
Getting Started: Tools You Need
My workflow is pretty straightforward, and I only use a couple of AI tools. The best part? They're all free! You can copy my system without spending a single penny. I'll break down each step, and I’ve got a stopwatch ready to show you how long each part takes.
Step 1: Ideas and Research
Now, you might expect me to whip out ChatGPT and ask it to suggest video ideas. But let’s be real—everyone knows ChatGPT by now, and the ideas it generates aren’t exactly top-tier. No offense to GPT fans, but if you’re a YouTuber like me, it doesn’t quite hit the mark.
Instead of relying on it, I do my own digging, checking out competitors and keeping up with trends. Usually, I have a rough vision of what I want to talk about, so I hop on YouTube, find a few similar videos, and start collecting their links. Once I have them, I dump those links into a free tool called NoGBT.
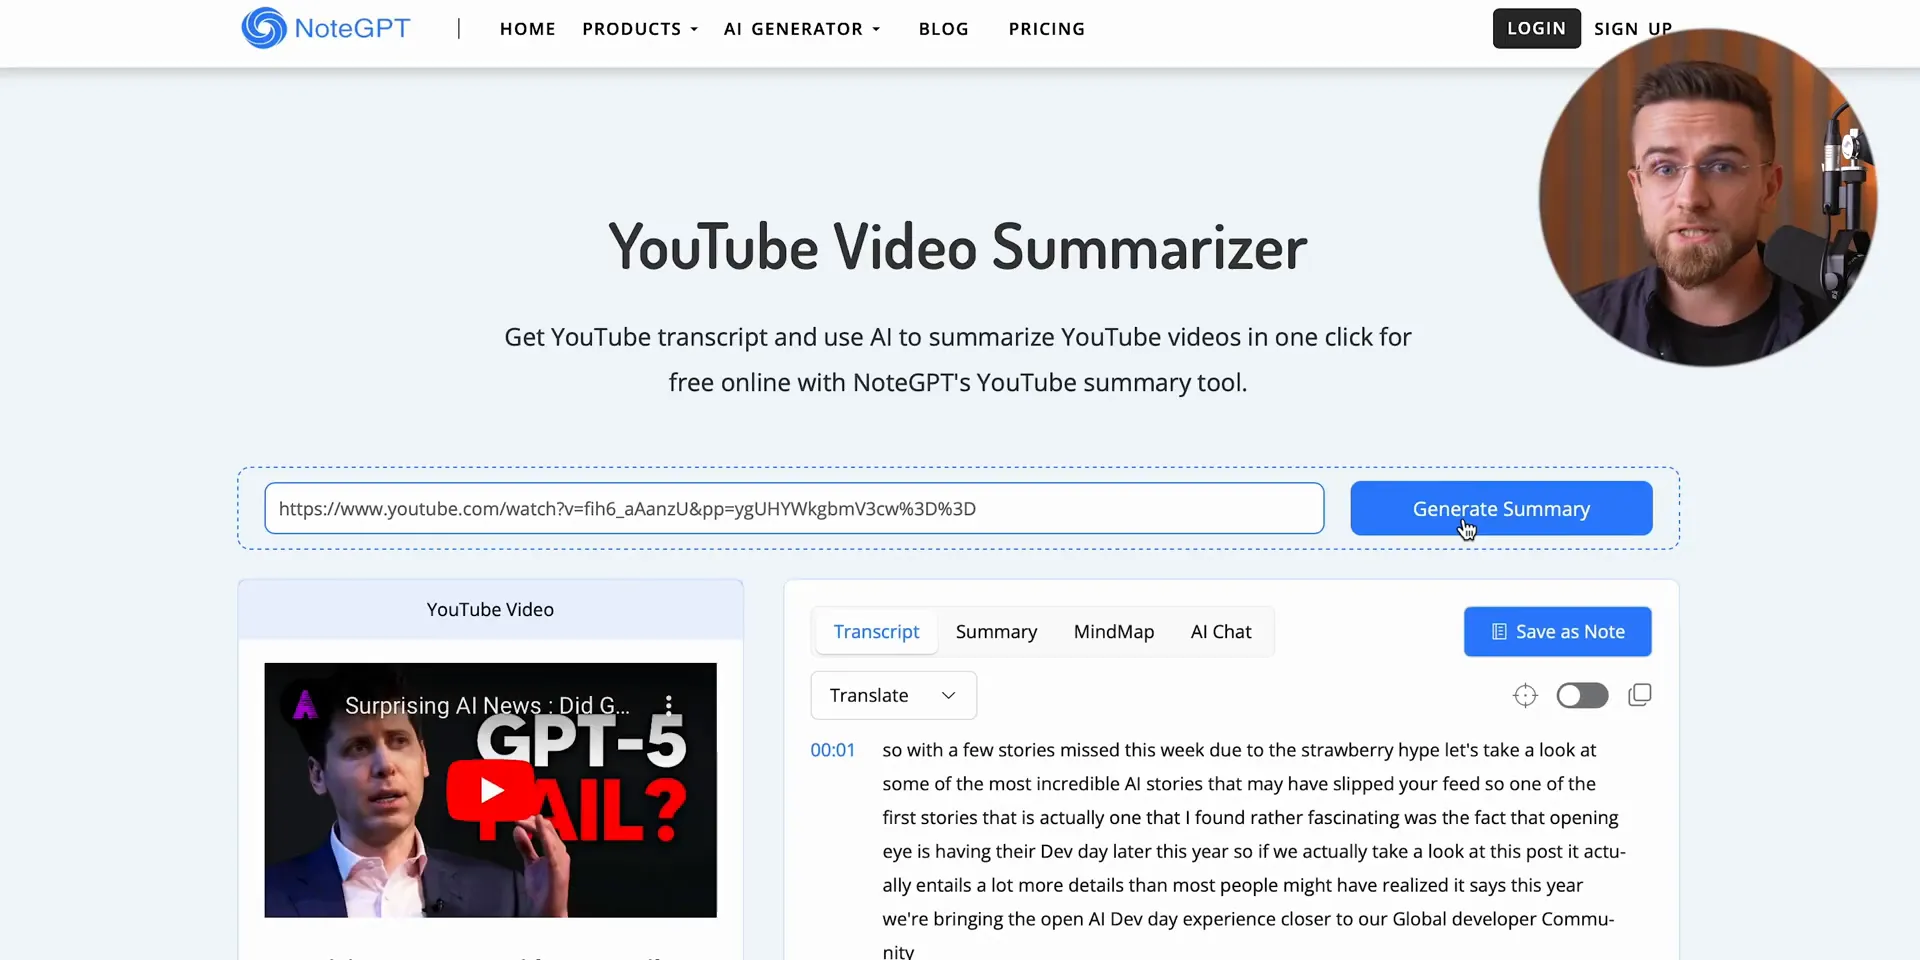
Let me tell you, NoGBT is a game changer. It grabs the transcription, summary, and mind map for every video. The mind map? Totally useless for me. But the transcription is accurate and has time codes, which is great. What I care about is the summary tab—this is where the gold is! It gives you the highlights, key insights, and a super short one-sentence summary, perfect for figuring out what the video is about without actually watching the whole thing.
I either copy these notes somewhere or jot them down on my iPad or even just good old paper. But I don’t stop there! The fourth tab in NoGBT is the AI chat, and I use it to interact with the video's content. You can literally ask questions like, “Does the video hint at anything?” Normally, I would have to watch the entire video to catch those little details. By chatting with it, I get a quicker understanding of its angle. This helps me find ideas that weren't explored or figure out how to approach the topic differently.
I repeat this for three to five videos, and by the end, I’ve got a crystal clear idea of what my video will be about. For instance, if everyone's making videos about why GPT-5 might flop, I might flip the script and talk about why it’s bound to succeed. Just an example, but you get the point!
Step 2: Skimming Articles for Data
After watching and researching those videos, I usually skim through a couple of web articles. Well, "dive" might be stretching it. I use the same NoGBT tool to summarize articles. Most tools out there make you copy-paste the text yourself, which is such a pain. Why can't they just let you drop in a link? Right? Summarizing an article works exactly like summarizing a video for me. I check the summary, ask AI follow-up questions, and take notes. Videos are for ideas, and articles are where I get the hard cuts and data I need.
You know what? In 15 minutes, I’m done! Normally, this would take an hour easy, but I’m serious about my research game.
Step 3: Scripting with AI
I’ve been editing for a while, and it can get real tedious. But I found a way to speed things up! I use VEED.IO, specifically their magic code feature. It’s an absolute lifesaver! You know those awkward pauses, the "uh" and "um" we all do? Magic code just wipes those out with one click, and boom—my video is cleaner, tighter, and way easier to work with.
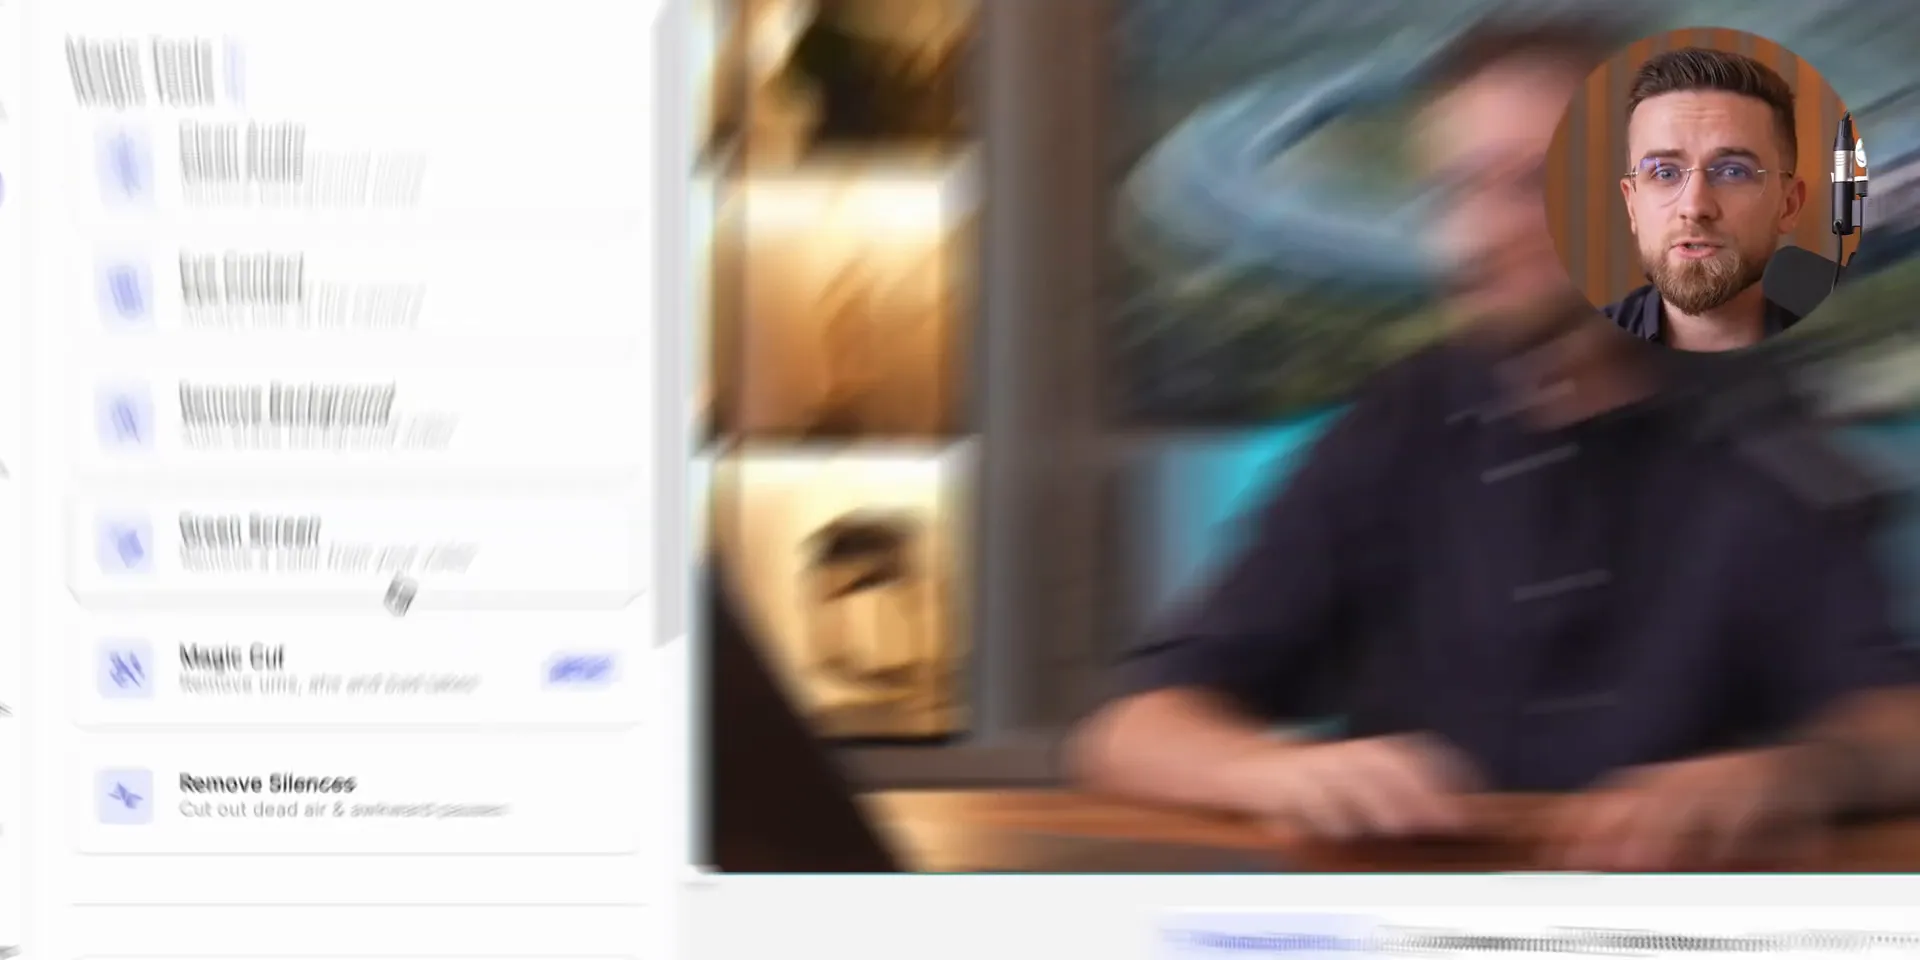
VEED also has this eye correction feature. Sometimes I’m not staring directly into the camera—don’t judge! It happens. Instead of redoing the whole thing, I just hit a button and VEED fixes it. It's probably some AI wizardry happening frame by frame, but it’s so smooth you wouldn’t even know I cheated! Love that!
Of course, the basics are solid too. Noise removal? Yep, they’ve got an algorithm that wipes out background noise like it’s nothing and super fast. Plus, the subtitles are on point—accurate, customizable, and you can even throw in animations or emojis. It’s that extra! But honestly, this is just scratching the surface; VEED has all sorts of AI-driven tools like translating your audio, turning text into video, creating AI avatars—it’s insane!
Step 4: Crafting the Script
When I’m done with my research and know exactly what I want, I head over to ChatGPT. But I don’t just throw everything at it and expect it to write a whole script in one go. If you give ChatGPT a huge task upfront, it’s probably going to start hallucinating, repeating itself, or just rephrasing what you gave it over and over. The result? A messy, inconsistent script!
Instead, I take a different approach with custom GPTs. I’ve got two of them. The first one is designed just for outlining the rough structure of the video, giving me a clear flow and direction. If you’re curious about how to create your own custom GPT, check out our recent ChatGPT guide where I break down everything you can do with it.
For this first GPT, I give it a simple prompt: "Idea Plus Plus" plus the idea itself. At the end of the prompt, I usually add "use the web for information" just to make sure it does. I've got web access enabled by default in the GPT settings, but it doesn't always go as planned.
Even with a custom GPT trained on my exact preferences, ChatGPT can sometimes just do its own thing. When that happens, I tweak the prompt slightly. For example, I might ditch the "use the web" request. Honestly, you never know which part of the prompt is going to make ChatGPT go off track. Luckily, this time it worked fine!
Step 5: Finalizing the Script
Here’s how it’s set up: ChatGPT splits the script into sections. Each section starts with a little intro to grab attention and connects to the previous part, then gives a list of options that should be covered in that section. The bullet points, though, are usually pretty basic no matter how I prompt them in the GPT settings. So, I’ve gotten into the habit of asking ChatGPT again to use the web and fill in those bullet points with more detailed information. This adds more depth, more useful insights, and sometimes even links to sources. This outline pretty much becomes the backbone of my videos.
The second custom GPT I don’t use as often, but it’s the one that actually writes the script. I’ve trained it by uploading a bunch of our old scripts, so it knows our style, tone, and the vocabulary we use. I set it up so I can just copy the outline from the first GPT, paste it in, and boom—a full script!
Even here, I have to tweak things as I go. By default, ChatGPT is set to give shorter answers, so I usually have to follow up with an extra prompt asking it to expand. That’s the secret sauce to getting the right length for my scripts.
Step 6: Filming and Thumbnails
Once my script is ready, I’m about to start filming. No AI here—just me, my trusty camera, my lights, a bit of editing magic, and boom! We’re done. The stopwatch says about 2 hours now. Before you start expecting me to gush over some AI that edits my videos for me, let me stop you right there. That’s not happening! Sure, there are AI tools out there that can edit video and do a pretty solid job, but for now, I prefer my videos edited by real humans. It’s just how I like it.
Same thing with the thumbnails. I’m not generating any fake images of myself; I just grab my camera and take a couple of good old photos. But here’s where AI does come back into play. Even with a great camera, sometimes I like to give my photos a little boost to make them pop. For that, I use Crea AI. Super simple—no weird tricks! I just upload my photo, select the upscale option, and that’s it!
Full disclosure: sometimes the results can get a little interesting. AI tries to predict what every pixel should be, and occasionally it misses—especially with my glasses. But hey, the beard and the hair? Spot on! Heads up, though: if your original photo isn’t high-res, you might end up looking like someone else. Even with my good quality shots, AI has somehow altered my eyes before. It all depends on the quality of your original pic.
Step 7: Uploading and More
Once my photos are looking sharp, I jump into the thumbnail editing like usual, then I upload the video. No AI needed here either, but that’s because I’ve been doing this for a while. If you’re new to this, ChatGPT can definitely help you out with things like tags and descriptions. It won’t nail it 100%, but it’s more than good enough.
After a quick bit of math, the whole process from start to finish took about 2 hours and 30 minutes. If I had done everything manually, it would easily take another 2 hours. And if you think my content creation pipeline ends here, well hold on—we’re just getting started!
Step 8: Repurposing Content
From here, there are two routes I usually go: making a bunch of shorts or reels, or turning the video into a full-on text article. I’ve already shown you a bunch of tools to create short clips from longer videos, so I’m not going to repeat myself; it’s literally as simple as pasting a link, waiting a bit, and boom—done! Easy peasy.
I’m not heavy into shorts or reels right now, but I am prepping to add a blog section to the website. I will be posting articles about AI there. I’m not a fan of writing my own copy, so what do I do? I take the audio from my edited video, transcribe it using Restream, and bam! Instant text streams!
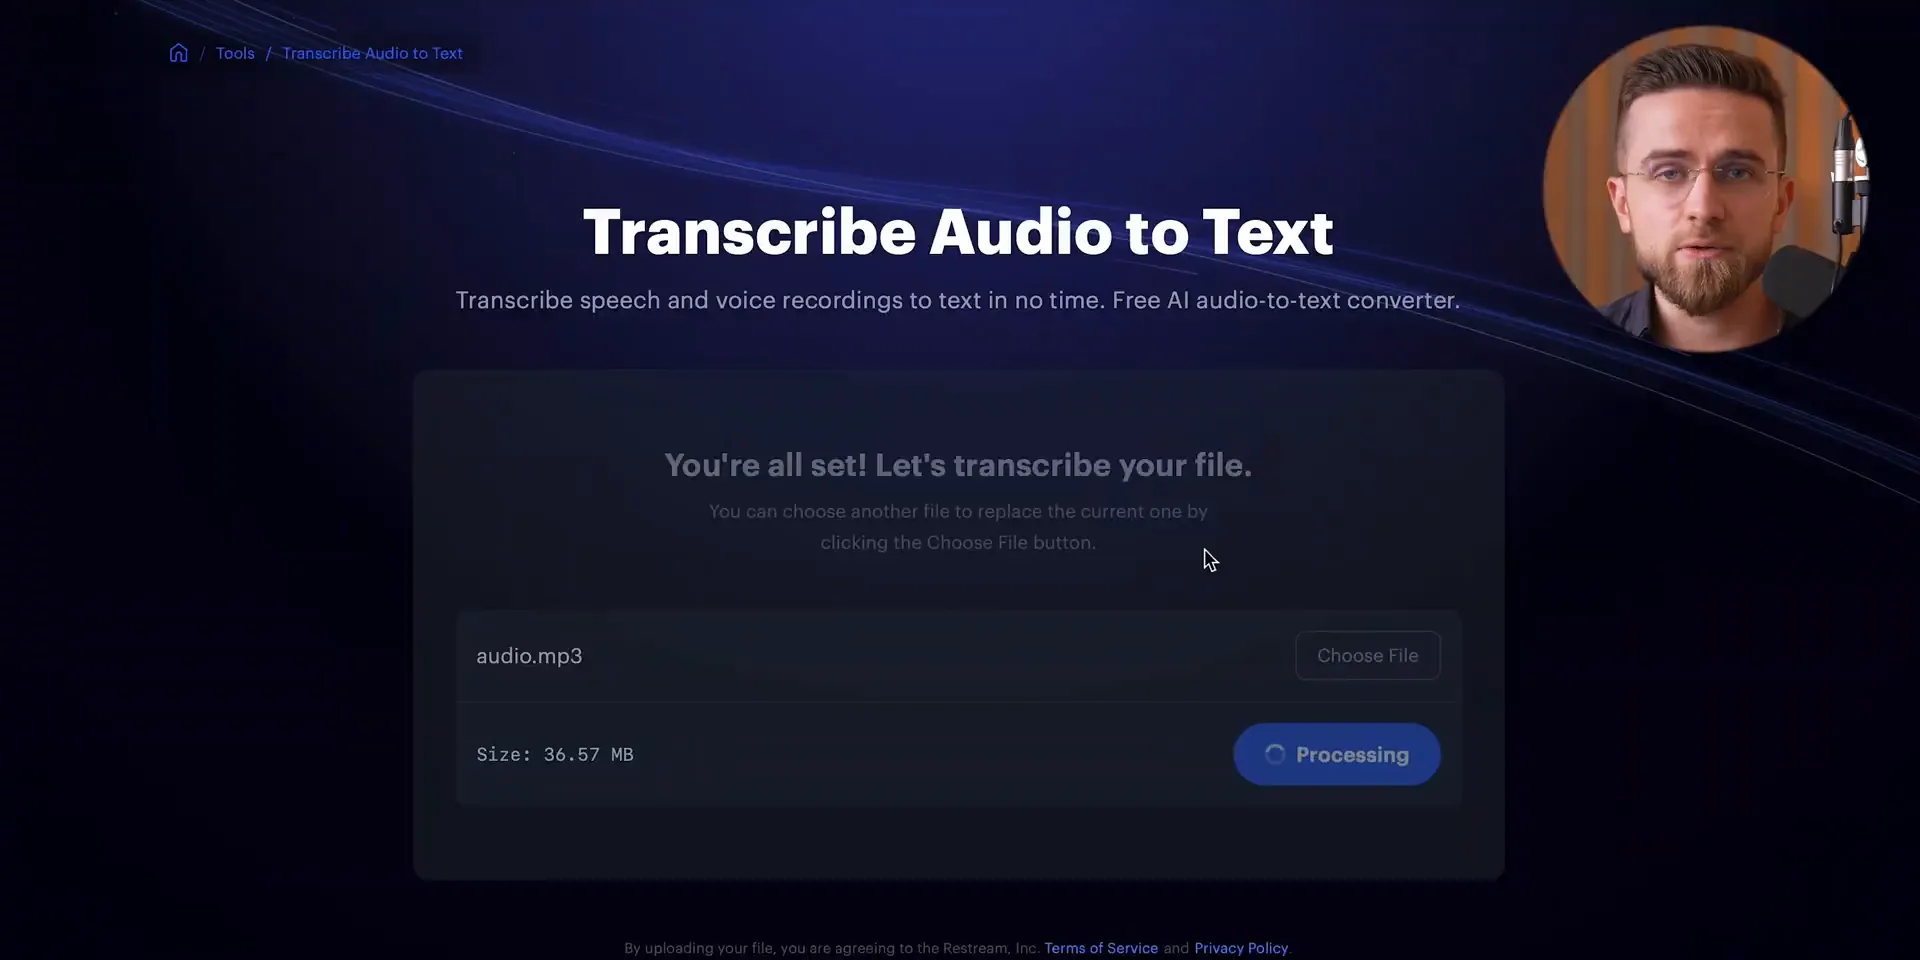
Awesome because it doesn’t limit me on audio length. A lot of tools hide this feature behind a paywall, but not Restream. It’s a huge win! All I do is upload my audio, hit a button, and in about a minute for a 13-minute track, I’ve got my transcription. No need to sign up; it just works!
Step 9: Turning Transcription into Articles
Next step, I take that transcription, toss it over to Claude, and ask it to turn the text into an article. Pro tip: ask Claude to suggest images that could fit the article. It won’t generate them, but at least you’ll get a solid list to work with later. And of course, don’t forget about SEO keywords! It’s a blog post, right? Claude does a great job with that, but if I really want to be covered, I will ask for those SEO keywords again just in case. Trust me, SEO is everything when it comes to blogging!
Step 10: Final Touches
We’re almost there! Just one final thing to do: grab a few images for the blog post. Don’t worry, no surprises here—I’ve got three solid options and you get to pick which one you like the best.
- Option 1: ChatGPT and DALL-E. Super easy and hands down one of my favorite options. DALL-E does exactly what I ask. I can copy an idea straight from Claude, paste it, and boom—an image! If I need tweaks, I just talk to it like I’m chatting with a real person.
- Option 2: MidJourney. I will be real with you, this one is my least favorite. The whole Discord chat thing is not the most convenient, and the prompts have to be super specific to get it right, which can be a hassle. But the results are consistently awesome quality, resolution, and style—MidJourney nails it!
- Option 3: Adobe Express. This might be the best option if you’re looking for something free and feature-packed. It’s not just about generating images; it’s got in-painting, background removal, resizing. Heads up, though: the interface is a bit chaotic; everything's crammed into one editor and it’s easy to get lost.
Final Thoughts
After writing that blog post with Claude and generating the images, the whole thing took me about 16 minutes. Add another 15 minutes for those shorts, and in about 3 hours, I’ve got a full YouTube video, some shorts and reels, and at least one awesome blog post!
And if I ever want to take a break from shooting videos myself, I could just create my own avatar with HeyGen. That AI could basically host the channel for me! If you’re interested in seeing a full guide on that, let me know in the comments!
Thanks for hanging out, and I will catch you in the next one! Peace!


