Integrating tools can streamline your workflow, and today, we’re diving into how to add an AIMasher webhook to Zimmwriter. This process is straightforward and can be done in just a few steps. Let’s break it down step-by-step.
Getting Started with AIMasher
The first thing you need to do is access AIMasher. This is where the magic begins. AIMasher is a powerful tool that allows you to create webhooks, which can be incredibly useful for connecting different applications.
To start, head over to the AIMasher interface. Here’s how you do it:
- Open AIMasher.
- Select the Webhook Creator.
- Click the Add button.
Creating the Webhook
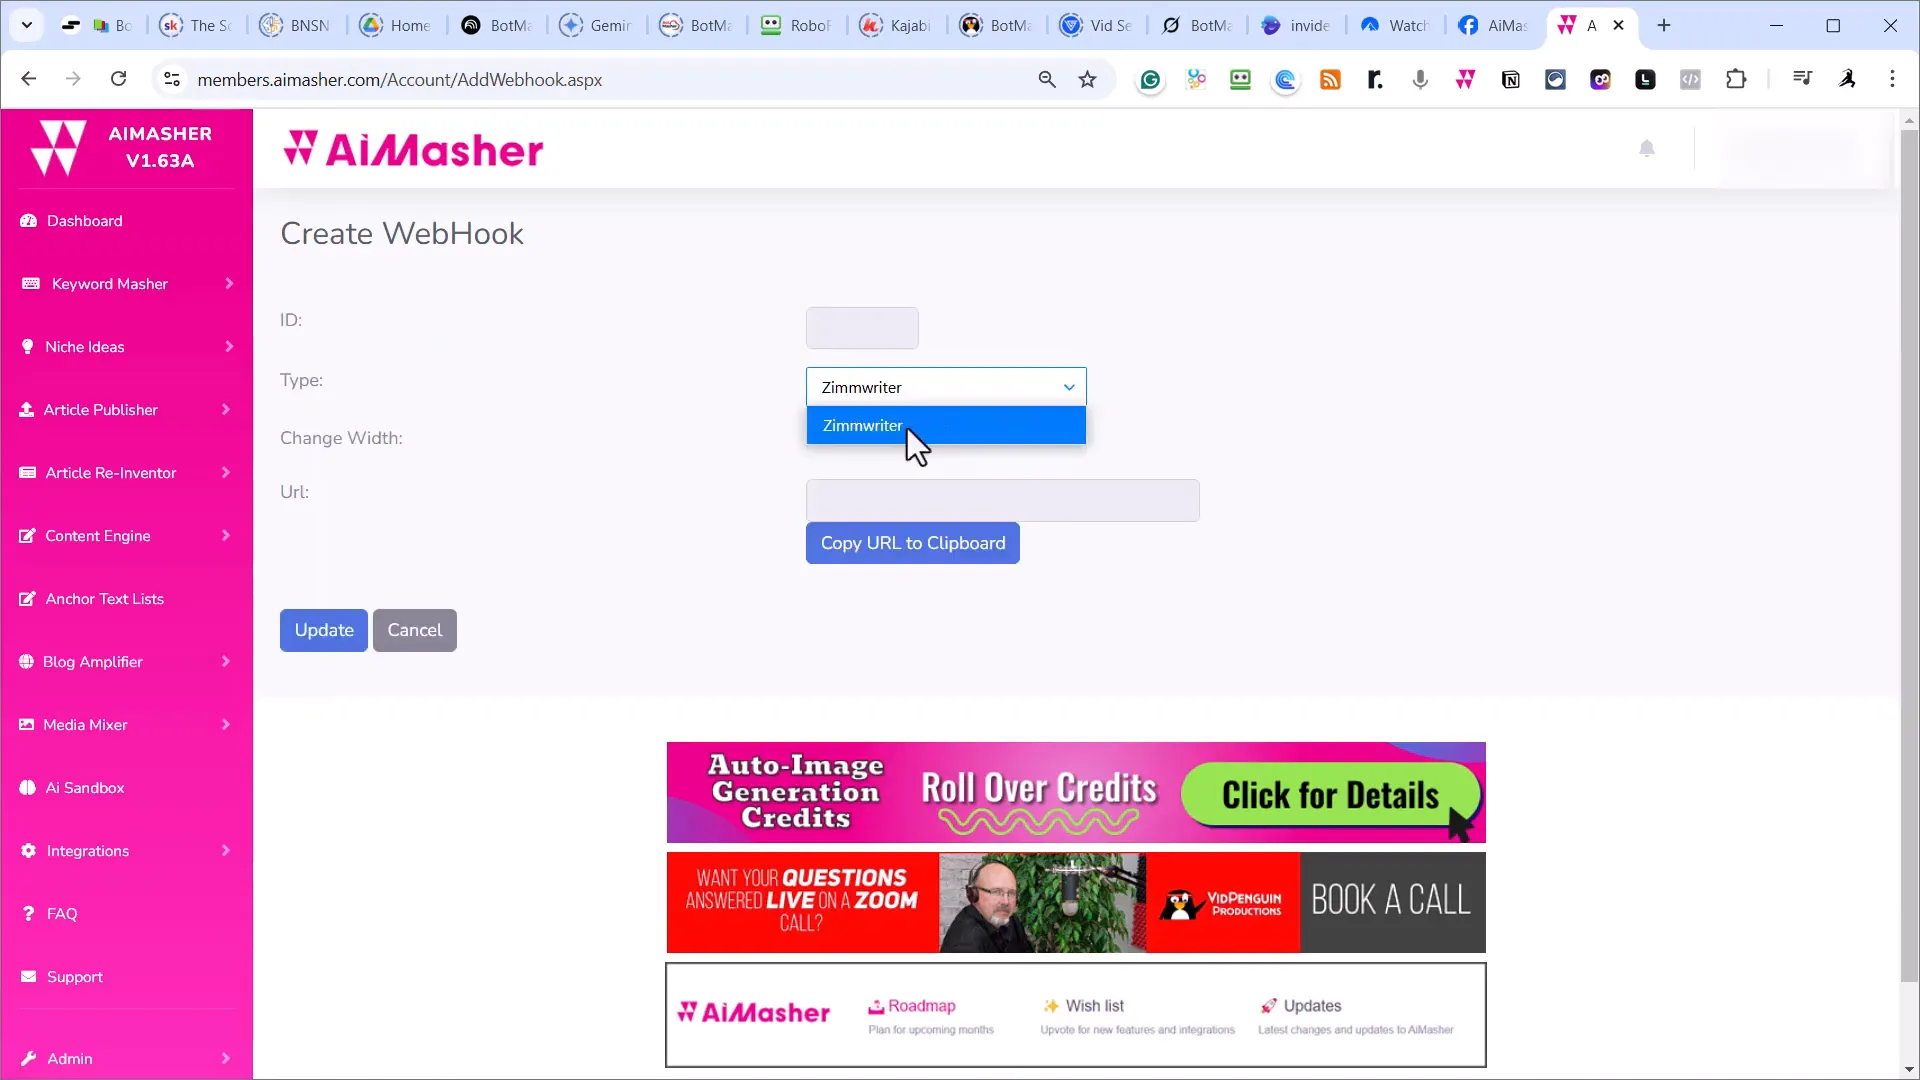
Once you're in the Webhook Creator, you need to choose the right option for your project. Currently, the only option available is for Zimmwriter. This is an essential step, so pay attention!
- Select Zimmwriter Top from the options.
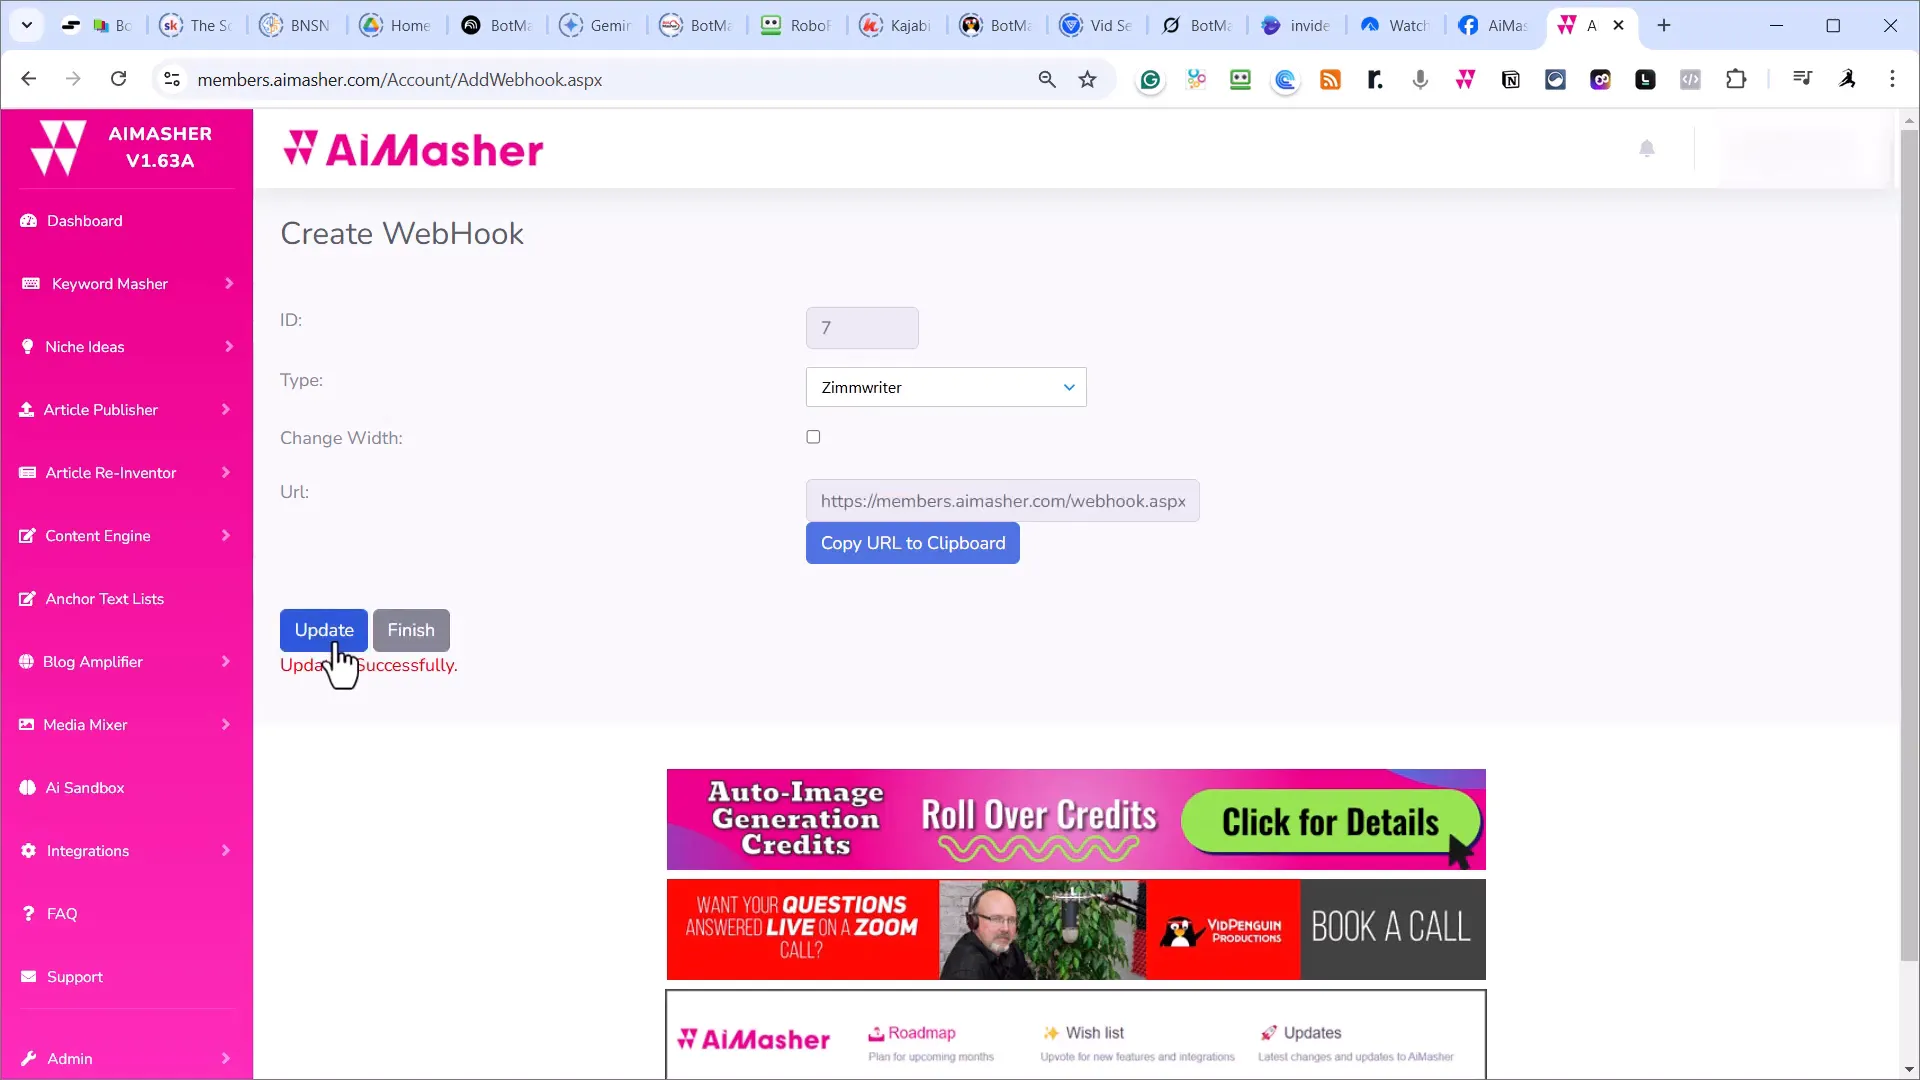
- Hit the Update button.
After hitting update, you’ll be provided with a URL. This URL is crucial for the next steps, so make sure to copy it to your clipboard.
Adding the Webhook to Zimmwriter
Now, let’s switch gears and head over to Zimmwriter. You’re almost done! Follow these steps to add the webhook:
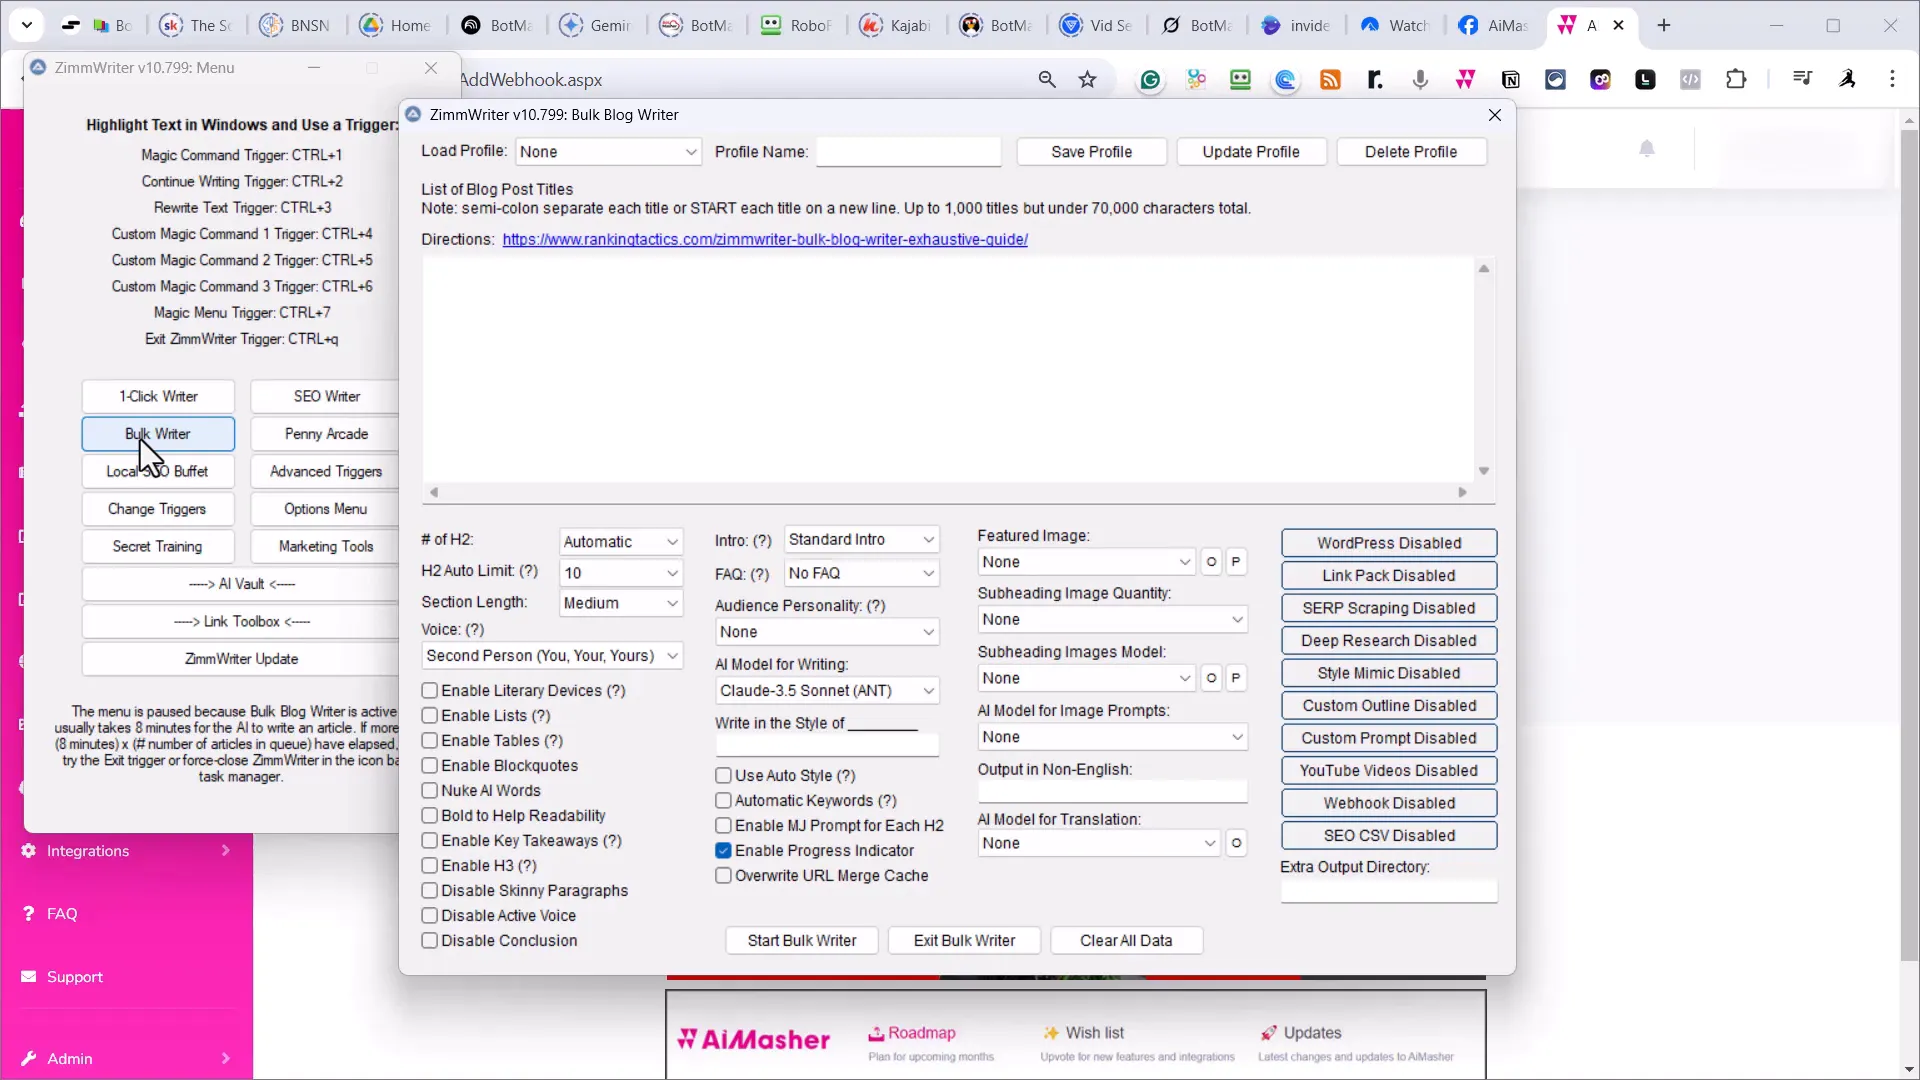
- Go to Bulk Rider in Zimmwriter.
- Scroll down to the Webhook section.
- Click on that option.
- Paste the URL you copied from AIMasher.
- Give your webhook a name.
- Finally, click on Save New Webhook.
Final Steps and Configuration
Congratulations! You’ve successfully added the webhook. The great thing about this process is that you only need to do it once for AIMasher, and you’ll have that webhook available forever.
Now, you’re ready to start putting your content right into the box. This is where you can unleash your creativity and let Zimmwriter do its work. Once you’ve entered your content, you just need to hit Start Bulk Rider if you’ve configured everything correctly.
Why Use AIMasher with Zimmwriter?
You might be wondering why you should go through this process. The integration of AIMasher with Zimmwriter can significantly enhance your content creation capabilities. Here are a few reasons to consider:
- Efficiency: Automating the content generation process saves time.
- Quality: AIMasher helps ensure that the content meets specific standards and formats.
- Flexibility: You can easily adjust the webhook settings to fit your needs.
Additional Resources
If you’re looking to dive deeper into Zimmwriter and its capabilities, I recommend checking out ZimmWriter: The Best AI Content Writer for Windows. This resource will provide you with more insights and tips on maximizing your use of Zimmwriter.
Conclusion
Integrating AIMasher with Zimmwriter is a quick and effective way to enhance your content creation process. By following the steps outlined above, you’ll set up a webhook that can streamline your workflow and improve your productivity. Don’t hesitate to experiment with different settings and configurations to find what works best for you!
Now that you know how to add an AIMasher webhook to Zimmwriter, go ahead and give it a try. Happy writing!


